
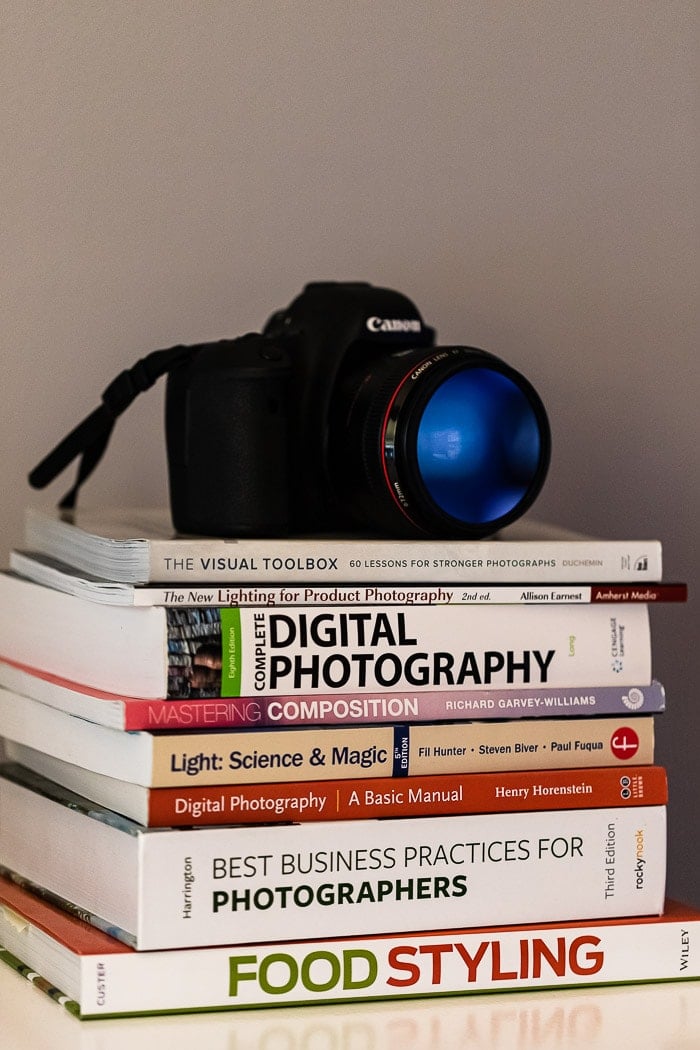
Seven Essentials for Next Level Food Photography

WHAT DO YOU NEED FOR PHOTOGRAPHY?
The very basics to creating photographs are:
- Camera
- Memory card
- Computer
- Subject
- Light source
My biggest suggestion to anyone interested in improving their photography skills is to start with what you have. This list includes seven essentials to improve your photography but the very basic essentials are listed above and everything else comes as you keep taking photos.
Four things out of the seven below are free, very low cost, or only require a time investment.
The other three items listed are great to have and once you have them, they do become almost essential but just keep in mind that this list is for “next level” food photography so it was written with the above items already being checked off your list.
Another thing to note is that you can upgrade your equipment as you go so don’t feel like you need to run out today and buy an expensive lens, color checker card, and drop a ton of money on fancy backdrops and surfaces.
As long as you have a compelling subject, interesting composition, and great light, you’re well on your way to mastering food photography.
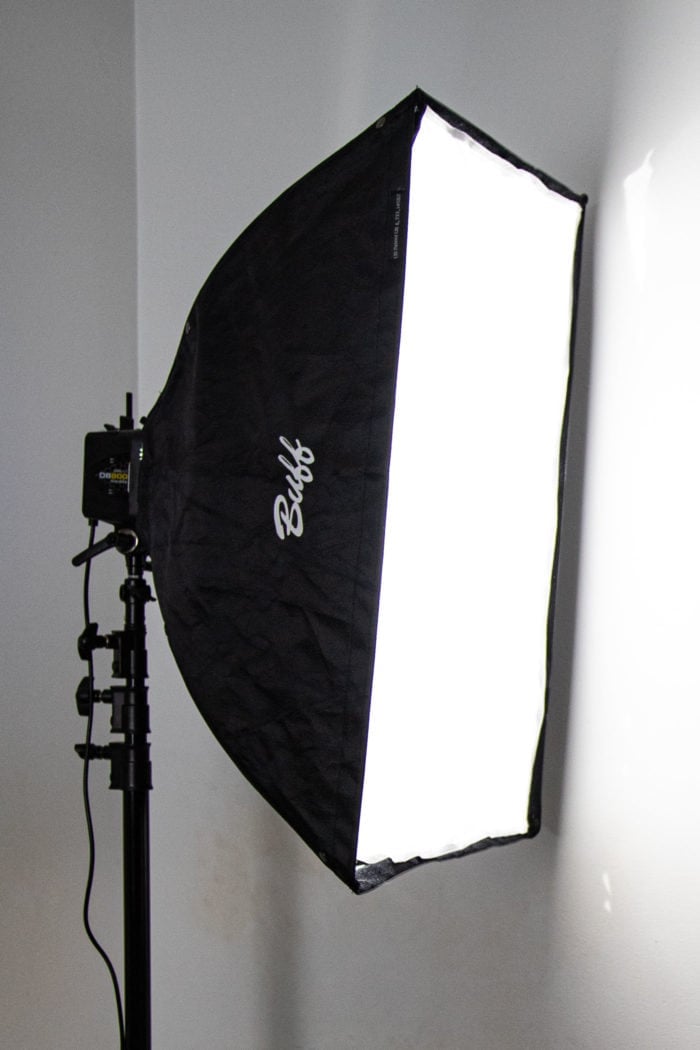
#1: A LOT OF QUALITY OF LIGHT
If you’ve been struggling with your photography and aren’t sure what the issue is, you might be shooting in a room with not enough light.
You’ll notice that one of the basic items I mentioned above is light. I’m mentioning it again here because QUALITY light is the next level.
If your light is too harsh (depending on your style, of course!) or too dim, your photos will suffer.
Finding quality light can be difficult. I remember the moment when I found the perfect spot in our house using natural light. I was completely ecstatic.
Some options for finding (or creating) quality light:
- Search your house for a large window
- Diffuse harsh light with a sheet or a diffusion cloth
- Buy a quality light with a large softbox
- Bounce artificial light off of a white wall
#2: A GREAT EYE FOR ALL THINGS AESTHETICALLY PLEASING
The more that you take photos and the more you move plates, food, and small props around on your set, the better your eye (for composition) will become.
Some people are naturals at assembling the elements within their frame to draw focus to what they want the viewer to pay attention to. If this doesn’t describe you, don’t fret.
As cliche as it is, practice makes perfect! The more you work on your setups and compositions, the easier they will become to create.
If your skill isn’t up to your own aesthetics. All this means is that you are currently within “the gap” between what you admire and what you actually create.
The only way to close this gap is to work at your composition by taking a ton of photographs. Keep working at building up your sets to be closer to what you want them to look like.
This is one of those free essential items that I was talking about earlier. It only requires a time commitment!
#3: A GREAT PRIME LENS
This one is a bit pricier than the other items I’ve mentioned thus far but it is worth the investment.
Depending on what your goals are for your portfolio and overall images you may want to consider various prime lenses.
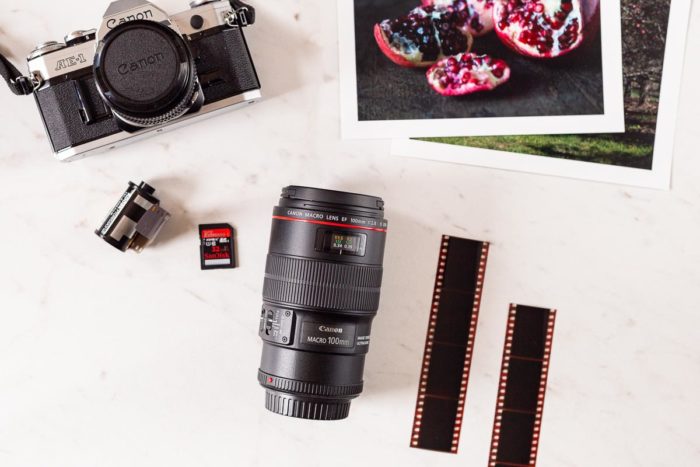
Here is a shortlist of prime lenses and their various uses:
50mm Prime – The 50mm is a great general lens that is great for food photography. When I was honing my compositional skills I started with the 50mm 1.8 and was able to “zoom” with my feet in order to adjust my composition and the elements within the frame. There is a 50mm lens for every single budget so you won’t have an issue there.
35mm Wide Angle– The 35mm is a wide-angle lens that will allow you to get overhead shots with a ton of plates and props. It will allow you to show all the things within your scene.
100mm Macro – This is a macro lens that allows you to get super close to your food and explore the details while also keeping a tact sharp focus and getting that beautiful shallow depth of field we all know and love.
#4: COLOR CHECKER OR GREY CARD
This essential is one of the cheaper things so far yet, still an investment. The one I have was a tiny bit less than $100 and was worth every single penny.
This ColorChecker Passport will allow you to make sure that your colors are spot-on throughout the shoot. It has multiple colors for creative control and an 18% gray swatch to ensure proper white balance.
The basic idea here is that you will place this color checker in your scene and take a shot with your current lighting situation. When you’re done shooting you will take these photos into your editing software (lightroom is my fav!) and then use the color swatched to adjust the colors within your photo.
Once you’re in Lightroom you can use the eyedropper to click in the grey swatch for proper white balance.
These work in conjunction with a color calibrator system such as the Color Munki Display.

#5: REFLECTORS & BLACK CARDS
My friends. This one is absolutely necessary. If your light is not even on your set or you want to block light, you’ll want to pick up a $1 – $5 foam core board from your local craft store.
Elmers has foam core boards that have a white and a black side which makes them extremely versatile. Next time you’re in your local craft store I suggest picking up a few.
I make a “v” shape with them by scoring a line with an exacto knife down the middle and folding the foam core board in half.
I place these homemade bounces on the side of my set that doesn’t have the light in order to bounce light back into my scene. You can also buy small bi-fold foam boards that are already in the shape of a “v” if you are so inclined.
You can also get a large presentation board that stands up on its own, similar to the ones used for poster creation for science fairs. These can be helpful with artificial light when trying to replicate natural light.
To replicate window light you can take your light source and place it towards the poster board surface and then bounce the light into your scene this way by placing diffusion material over the board with the light inside.
This creates the illusion of a large window. It can be a helpful technique if you are in the northern hemisphere where it gets dark at 4 PM during the winter months.
I use a V-Flat for this process because it is huge and has both sides (black and white). A V-Flats is a bit pricey but you can easily create your own using foam core, velcro, and heavy-duty tape.
You can also hang these from c-stand boom arms or other light stands using A-clamps in order to free up your hands or remove them from your set. They also make reflector stands that will hold these up for you.
Of course, you can also buy reflectors in various sizes that have multiple sides to them. Each side has a different color which in turn impacts the light differently.
Here is a quick rundown of how each side impacts the light that it comes in contact with:
White – This is the side that I use the most. The light will hit this surface and bounce back onto your scene.
Black – This is known as the anti-reflector as black will absorb the light that it comes in contact with. This can be great for creating shadows and moody images.
Diffusion – Generally you will unzip the reflector to change the colors and inside holding it all together is a translucent piece that you can use to diffuse the light before it hits your scene.
Silver – The silver side does the same thing as the white side but it reflects more light. This is useful in low light situations but if I am being honest, I generally use the white side the most.
Gold – This is used when you want to bring some warmth into your photographs. I have never used gold in a practical way for food photography but it is always a good idea to experiment.
I have a few of these reflectors including one that is taller than I am! I love to hang it on one side of my set using my c-stand’s boom arm. I also recommend the Westcott 5 in 1 reflector kit with a stand.
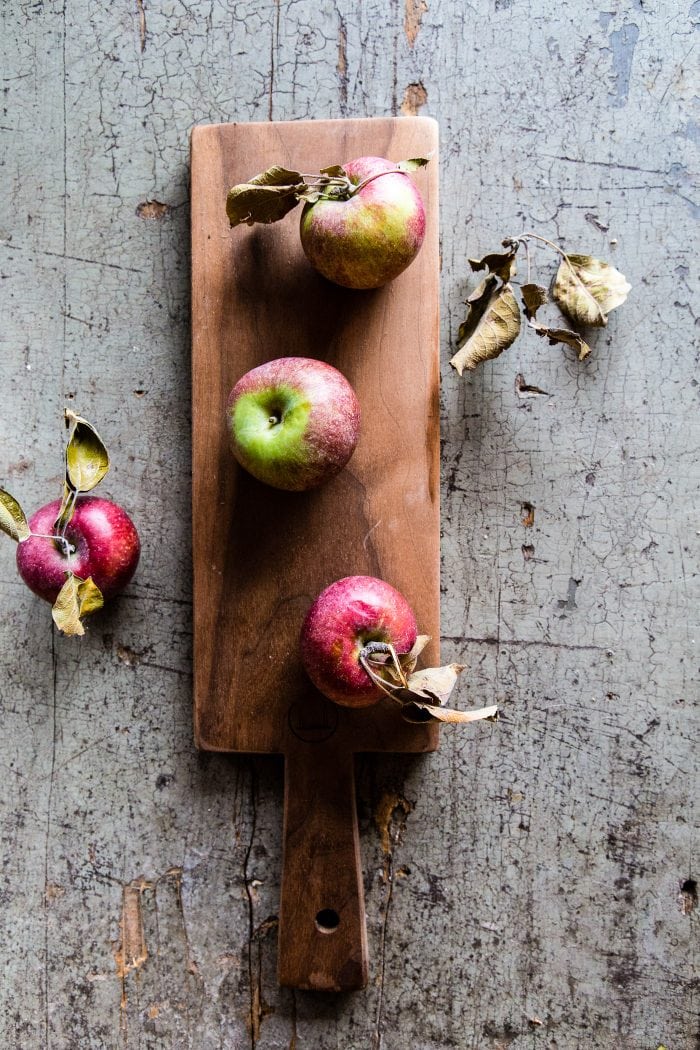
#6: INTERESTING SURFACES & BACKGROUNDS
The backgrounds that I have purchased have been absolute game-changers for my work. I have made my own backgrounds over the years but nothing compares to the professionally curated and polished background that you can buy from various sources.
I personally love real wood or textured backgrounds. That being said, the vinyl backgrounds are more budget-friendly, very lightweight, and they can be beautiful but there is something special about the real textures that really make photographs shine.
Here is a list of places where I have sourced food photography backgrounds and surfaces:
You will find more information about these backgrounds and surfaces in the Food Photographers Toolbox!
ESSENTIAL #7: WILLINGNESS TO KEEP LEARNING & GROWING
This one is another time investment but it is absolutely free.
As long as you keep shooting and learning, you will grow your skillset and abilities behind the lens, while styling the food, and while setting up your shot and composition.
If you ever get to a point where you feel like you’ve “learned enough” or know everything, you need to check yourself and snap back to reality. There is always more to know and room for growth.
Keep shooting and learning and trying new things. It is the only way to push yourself out of your comfort zone so you can keep improving your work and yourself as an artist.


