
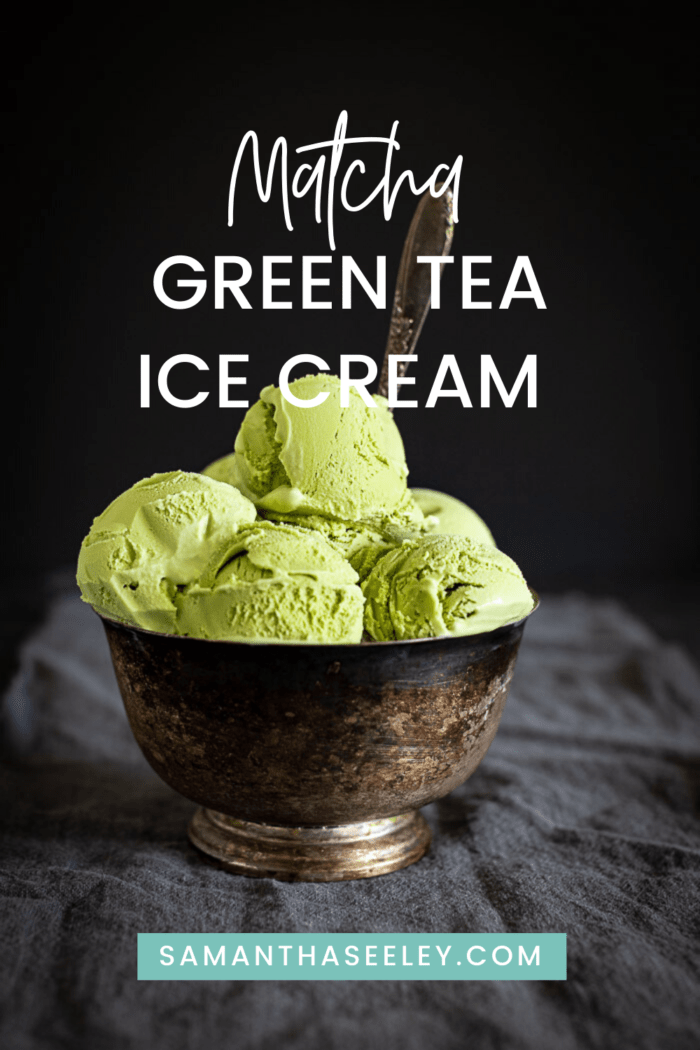
Matcha Green Tea Ice Cream


You could say I am obsessed with Green Tea. I adore it.
You bet that if something is offered in a green tea flavor, I am all about it.
Some of my favorite green tea things:
- Starbucks frappuccino
- Bubble tea
- Mochi
- Good ole hot green tea
- Iced green tea
…and of course… ice cream.
I remember the first time I had Green Tea ice cream.
I was at a local Japanese restaurant and it was fantastic.
There is something so refreshing about the taste.
I know that I feel better about eating ice cream or drinking a 400 calorie beverage when it’s green.
Maybe now I can justify drinking Shamrock milkshakes from McDonald’s.
Just kidding…
What is Matcha Powder?
Matcha powder is green tea that is finely ground up into a powder.
It is traditionally mixed with hot water to make a frothy drink but we have found all types of creative uses for it such as bubble tea, matcha lattes, and we can’t forget about this ice cream!
You can find it at most specialty spice stores and perhaps even your local grocery store. It’s much easier to find lately!
What do you need to Make Green Tea Ice Cream?
To make green tea ice cream you will need some basic ingredients such as heavy cream, milk, eggs, sugar and eggs but you’ll also need some more specialty tools and ingredients such as…
An Ice Cream Machine: My favorite is this attachment for my kitchen aid mixer.
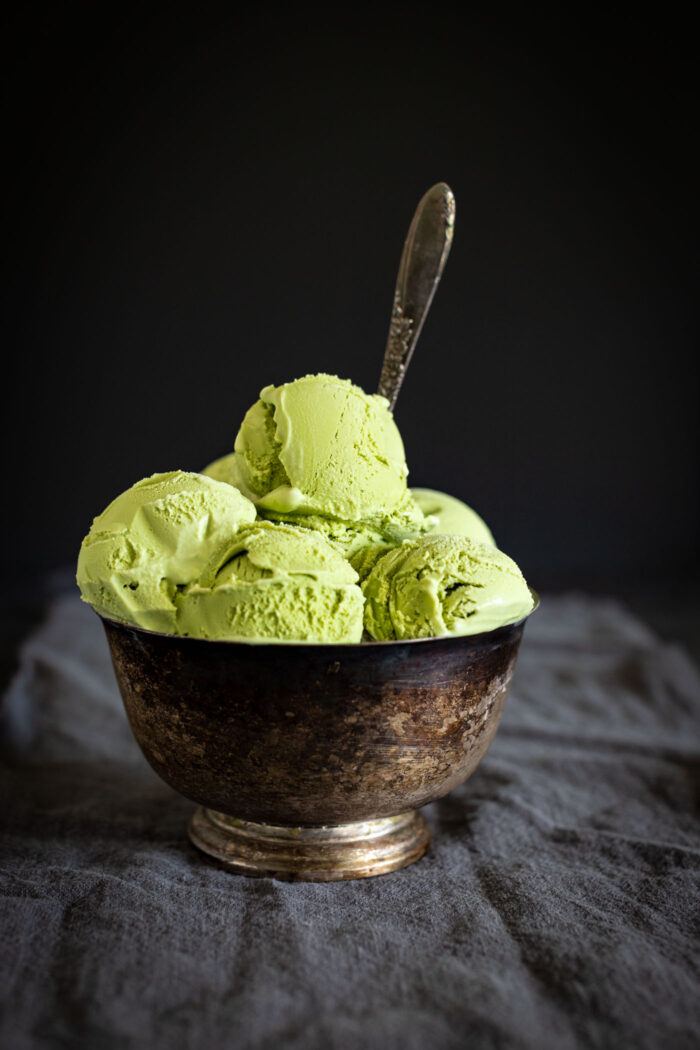
Matcha Powder: This powder gives us the beautiful green hue and the green tea flavoring.

Matcha Green Tea Ice Cream
Ingredients
- 1 1/2 cups heavy cream
- 1 1/2 cups milk
- 1/8 teaspoon salt
- 2 tablespoons green tea powder
- 5 eggs
- 1/3 cup sugar
Instructions
- In a medium saucepan over medium heat, bring the cream, milk and salt to a bare simmer.
- Whisk in the green tea powder until dissolved.
- Meanwhile, in a medium bowl, whisk together the eggs and sugar.
- Whisk 1 cup of the hot cream mixture into the egg mixture to temper the eggs, then slowly pour the eggs into the saucepan, stirring constantly with a wooden spoon.
- Continue to cook over medium heat, stirring constantly, until the mixture thickens to a custard (it will be thick enough to coat the back of the spoon).
- Immediately remove the pan from the heat and strain the custard into a medium bowl set over a bowl of ice water.
- Stir the custard until it is cold.
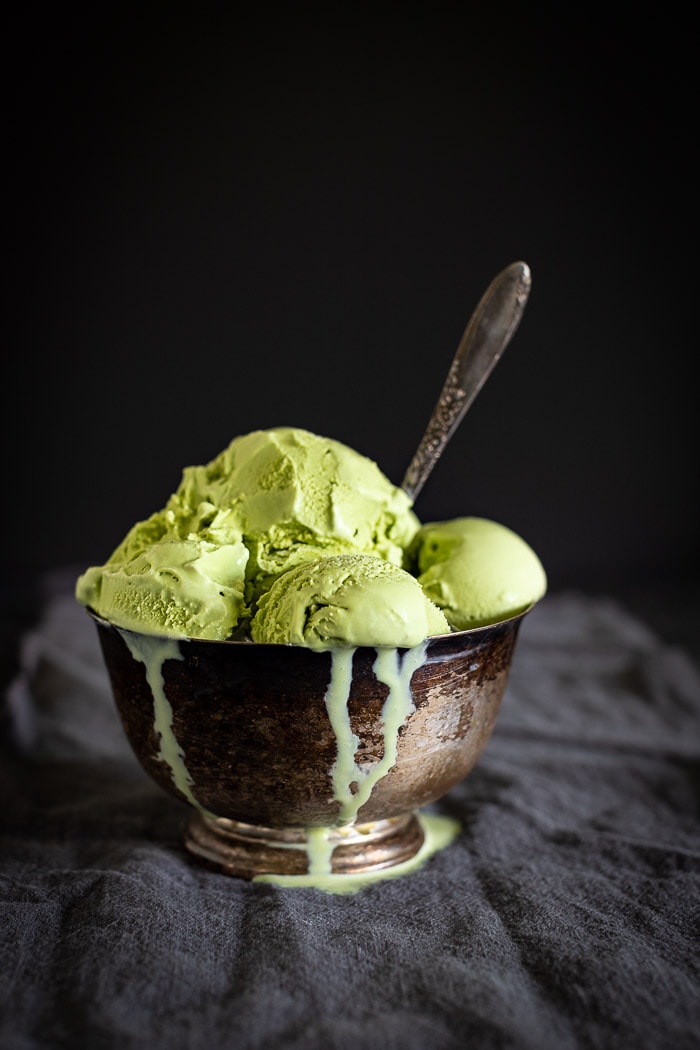
- Process the custard in an ice cream maker until thick, then transfer to an airtight container and freeze until hardened, approximately 8 hours.
Recommended Products
This post contains affiliate links. I will make a small commission if you make a purchase through one of these links, at no extra cost to you.


Nutrition Information:
Yield:
8Serving Size:
1Amount Per Serving: Calories: 252Total Fat: 20gSaturated Fat: 12gTrans Fat: 1gUnsaturated Fat: 7gCholesterol: 170mgSodium: 112mgCarbohydrates: 12gFiber: 0gSugar: 10gProtein: 7g
Nutrition information isn’t always accurate. You may want to spot check this information.


Pingback: Who Needs an Ice Cream Maker? : Cook the Story
Pingback: The Whole Foods Survival Guide: How To Navigate Your First Trip » Sweet Remedy